How to Use 0.96-Inch OLED Display Module
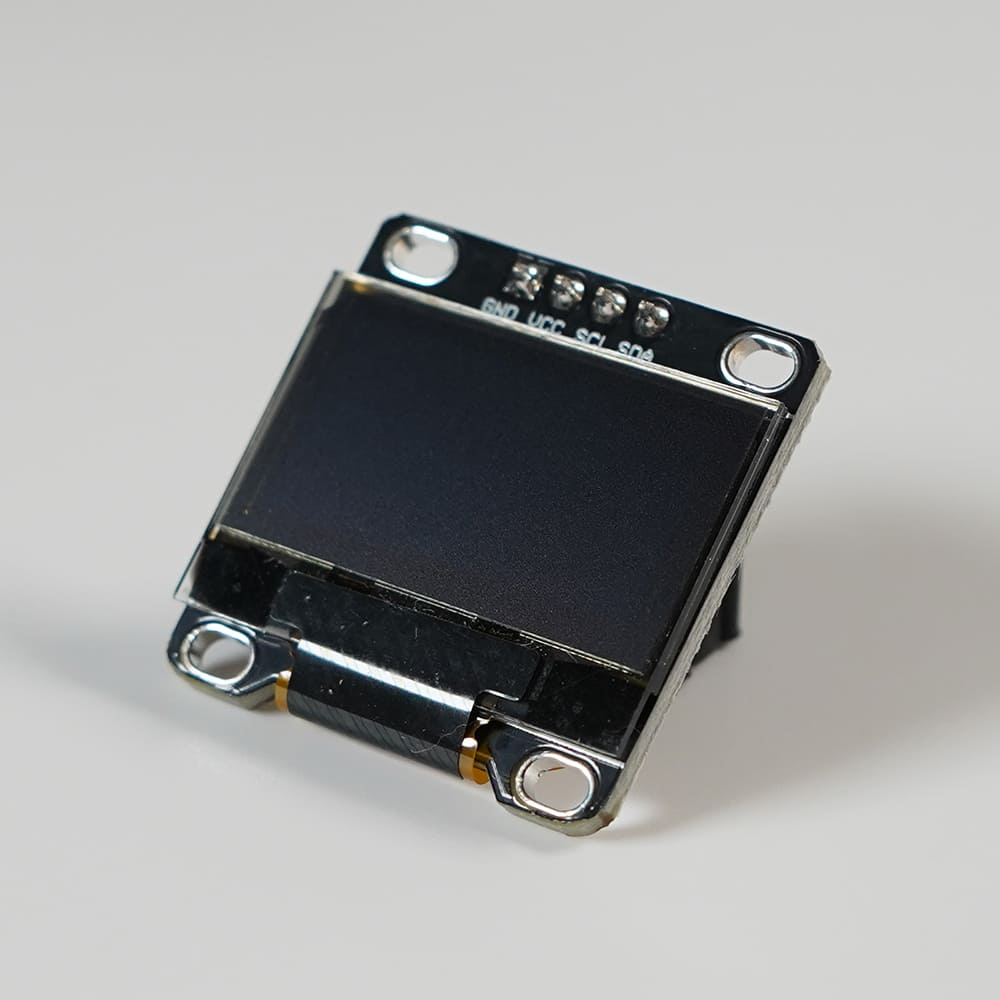
It's a 0.96-inch OLED display. It can be used for displaying text, images, and even as a game screen.
About the Module
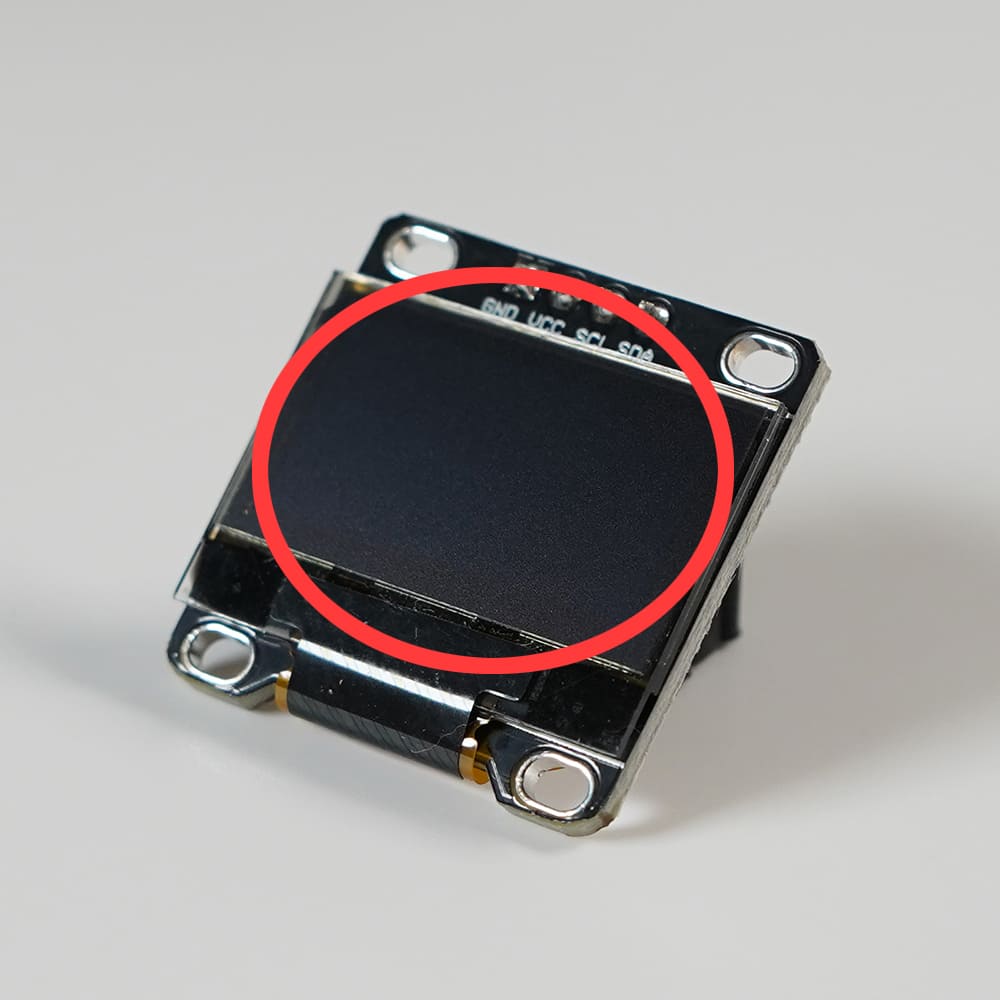
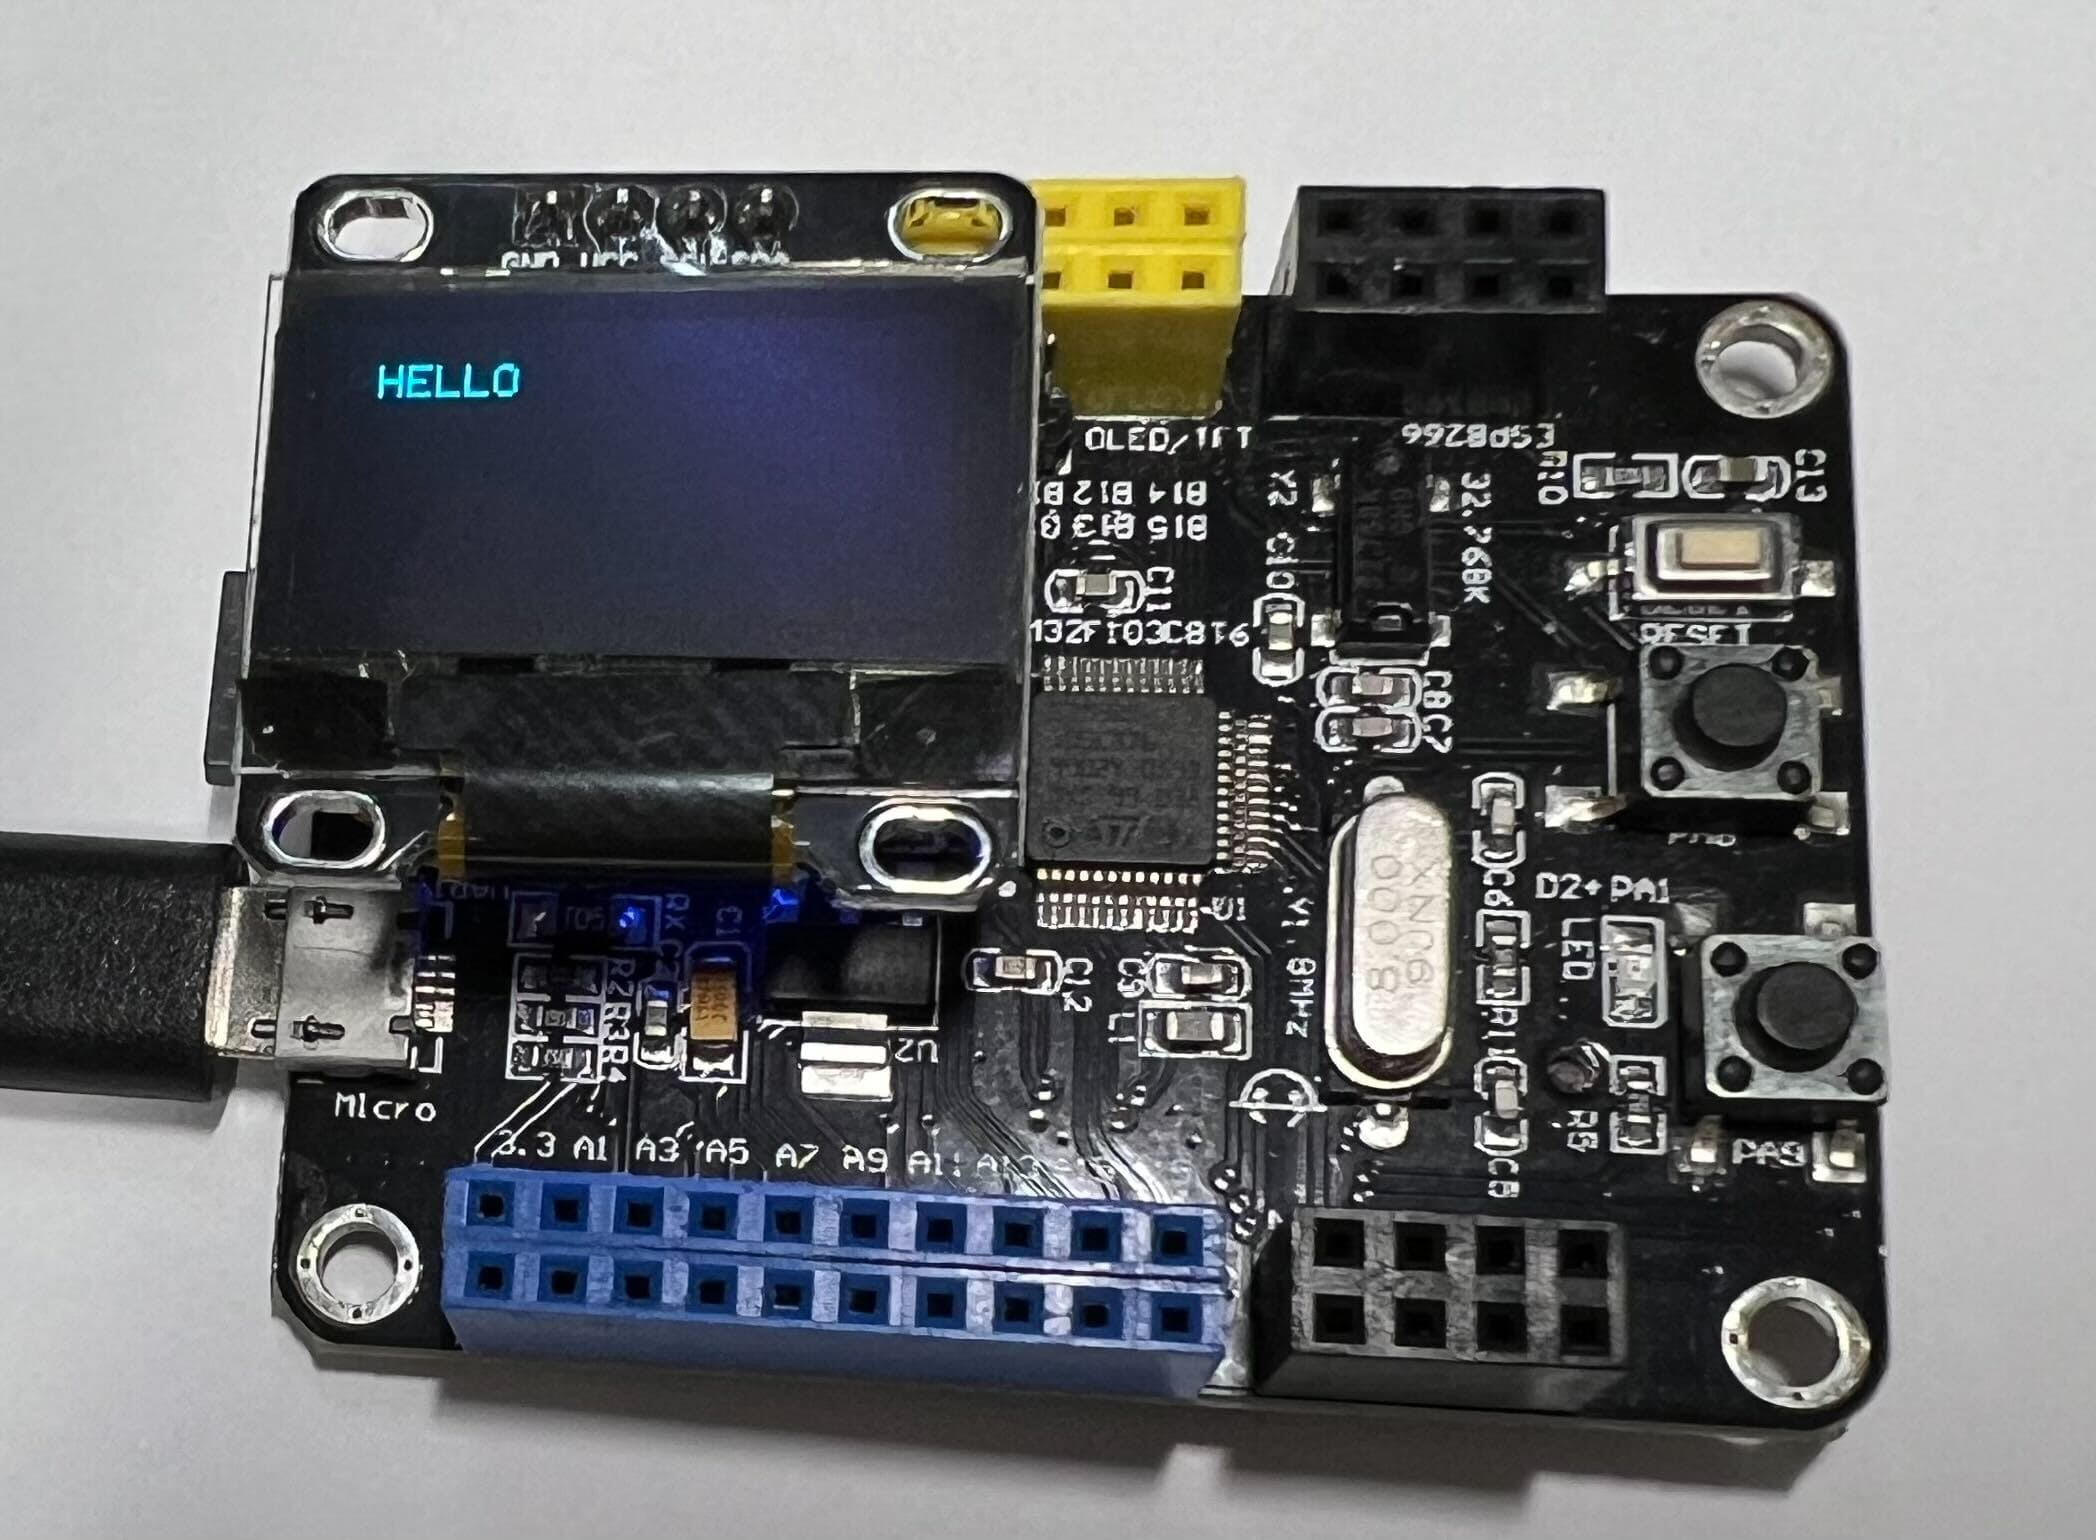
You can display characters and images on the display located in the red circle in the photo. SPACEBLOCK communicates via I2C using two signal lines, SDA and SCL.
※Text display supports numbers, alphabets, and symbols. (Japanese support is planned for an update)
About I2C
In I2C communication, communication is carried out using two signal lines, SDA (Serial Data) and SCL (Serial Clock). SDA is the data signal line, and SCL is the clock signal line.
Specifications
| Voltage | 3~5V |
|---|---|
| Communication Method | I2C |
| Display Color | Blue |
| Pixel Count | 128x64 |
| Screen Size | 0.96 inches |
| Size | 27 x 27 (mm) |
Connection
Direct Connection to SPACEBLOCK Microcontroller Board
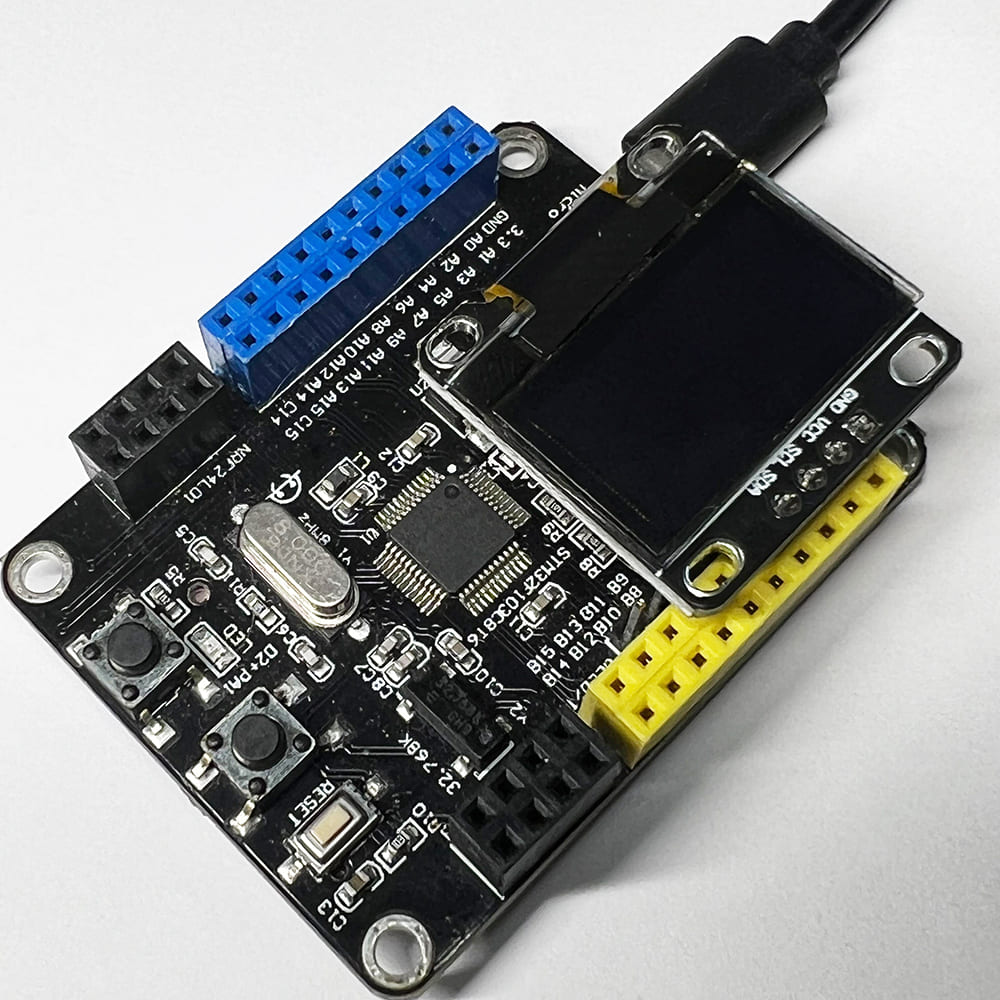
Insert the pins of the 0.96-inch OLED display module into the yellow pin sockets of the SPACEBLOCK microcontroller board as shown in the photo.
Connection Using Jumper Wires
Connect the 0.96-inch OLED display module and the SPACEBLOCK microcontroller board using jumper wires (male-female) as follows:
- Connect the SCL pin of the 0.96-inch OLED display module to the I2C compatible pin of SPACEBLOCK
- Connect the SDA pin of the 0.96-inch OLED display module to the I2C compatible pin of SPACEBLOCK
- Connect the GND pin of the 0.96-inch OLED display module to the GND pin of SPACEBLOCK
- Connect the VCC pin of the 0.96-inch OLED display module to the 5V pin of SPACEBLOCK
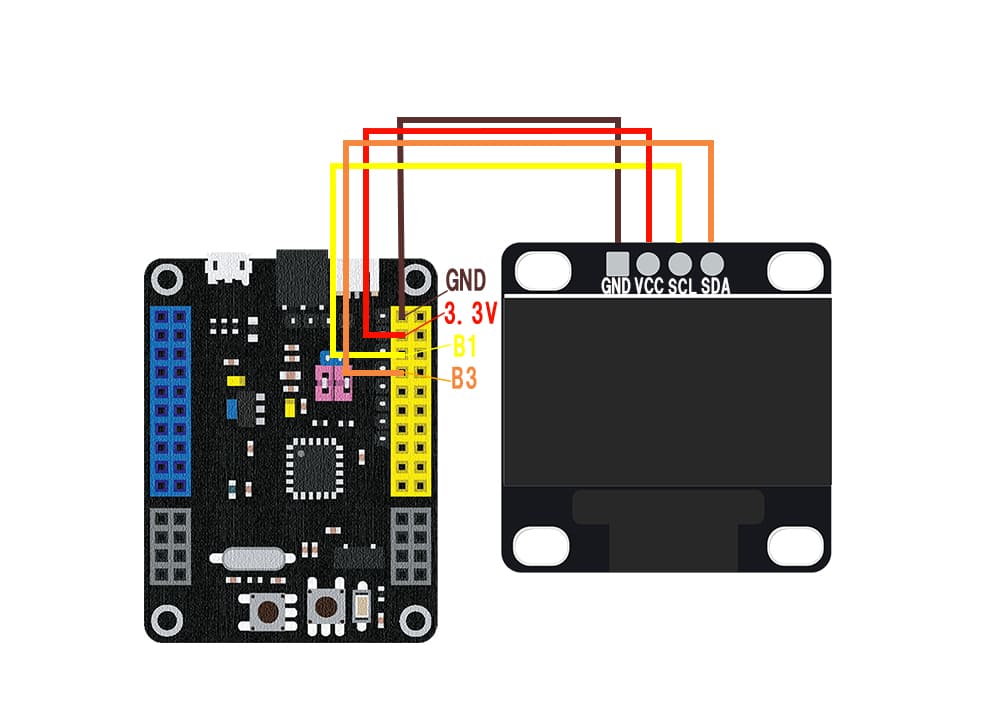
※The image shows the signal lines connected to pins B1 and B3. I2C compatible pins are combinations of B1 and B3, or B0 and B2.
※5V and GND can also be inserted into the pins with the same notation on the SPACEBLOCK microcontroller board.
Usage
You can draw images and text on the 0.96-inch OLED display module using blocks in the 'Output' category of the project.
When using OLED, place the following initialization block first:

After that, you can use blocks for drawing characters and simple shapes. For displaying sensor values, refer to the following image:
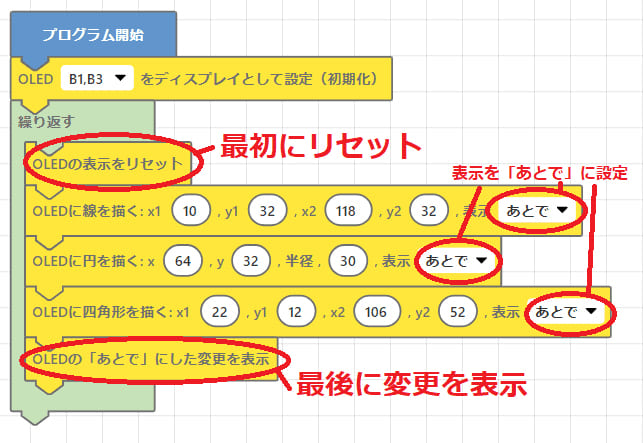
When creating games or animations, you need to reset the screen and update the display collectively. The arrangement is as follows:
1. Place the "Reset display" block at the beginning of the loop
2. Set the display timing of the drawing in the process to "Later"
3. Place the "Apply later changes to display" block at the end of the loop
※For more details, refer to the following image.
For detailed usage of the blocks, click here
Writing ~ to OLED
