

[No.5] Press a Button and Something Happens! An "Okaeri" (Welcome Home) LED Sign
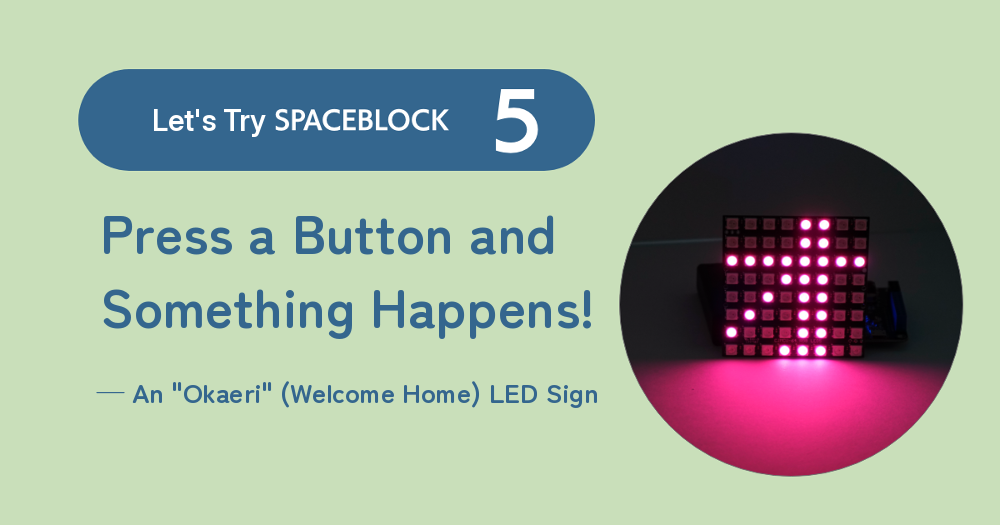
Let's make an LED sign with the LED panel using SPACEBLOCK, the tiny computer for making things. In [No.4], the program lit up the 8×8 RGB LED Matrix Panel (LED panel) as soon as you turned on the power. This time, we'll change it into a program where "the LEDs light up when you press the button."
What You Need & Getting Ready

A Program That Uses the Button
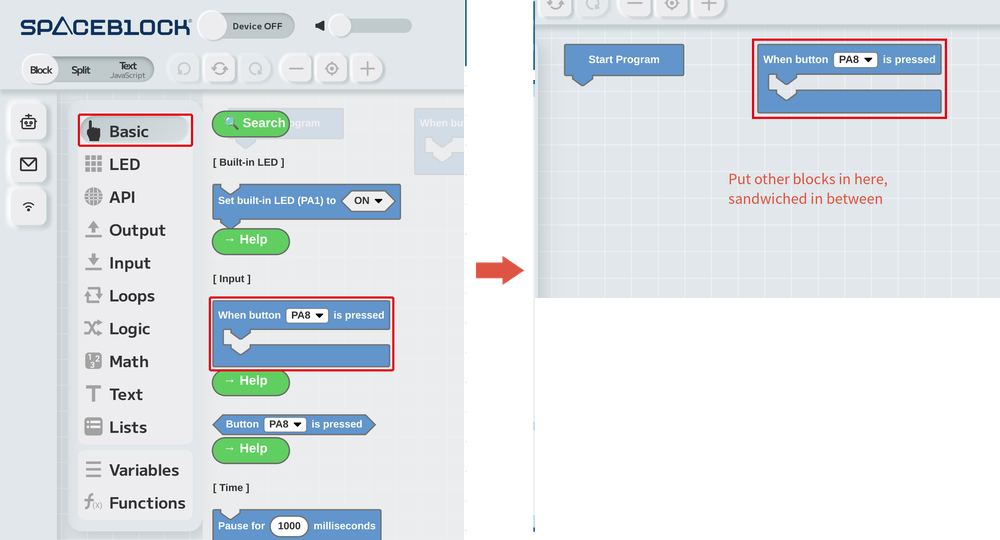
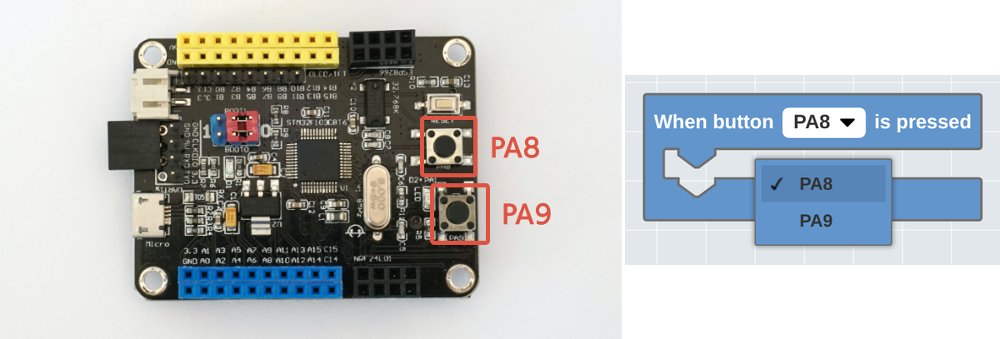
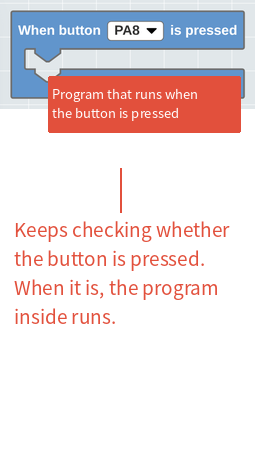
SPACEBLOCK has 2 buttons, named "PA8" and "PA9." When you use the [When button (PA8/PA9) is pressed] block, make sure you choose the right button.
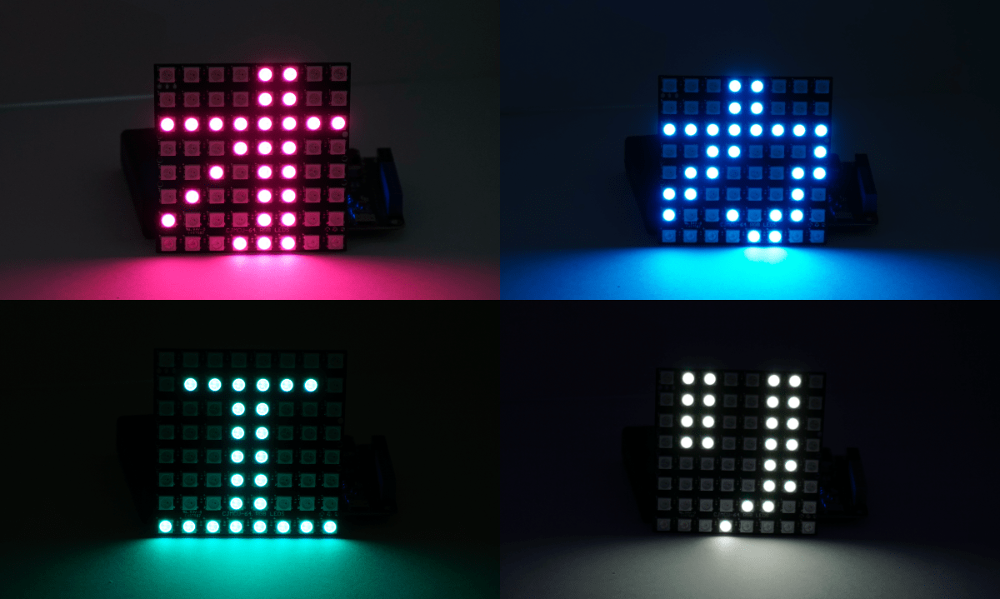
Next is the LED panel program. As in the next picture, program it so that when the button is pressed, the Japanese characters オ (o), カ (ka), エ (e), and リ (ri) appear one after another. Together they spell "okaeri," which means "welcome home." Draw each character with an [RGB LED (A10): light up] block, put a [Pause for (1000) milliseconds] block in between so each character stays lit for a while, and at the end turn the LEDs off with a [Turn off all LEDs on RGB LED (A10)] block.
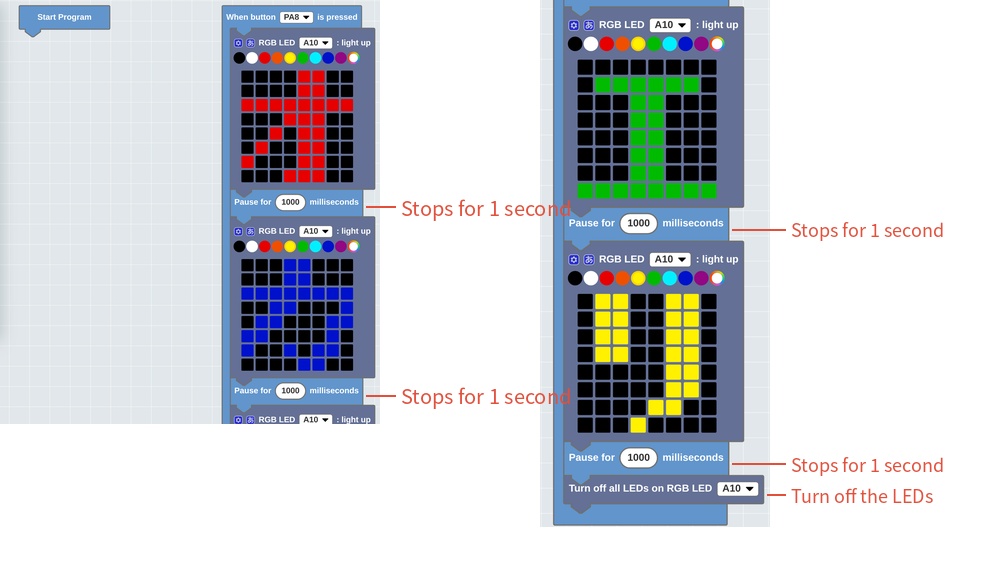
Build the program as in the picture above and run it.
Click [Run] at the bottom of the programming screen to start the program, then press the button (PA8) on SPACEBLOCK and... the characters オ, カ, エ, リ appear one by one! The button block keeps watching the button the whole time the program is running, and runs the program inside it only when the button is pressed.
How the Button Block Works
Besides the [Start Program] block, this program has a [When button (PA8) is pressed] block. The [When button (PA8) is pressed] block keeps checking whether the button is pressed the whole time the program is running. When it detects that the button was pressed, it runs the program attached inside it.
With blocks like this that run "when something happens," you can make programs that wait until something triggers them and only then carry out the instructions.
Let's run the program again. When you press the button (PA8) on SPACEBLOCK, the characters オ, カ, エ, リ appear one by one, 1 second each.
If you transfer the program to SPACEBLOCK and run it in standalone mode, you can use it without the computer. Your "welcome home" LED sign, which shows the message whenever you press the button, is complete!
The World of SPACEBLOCK Keeps Growing
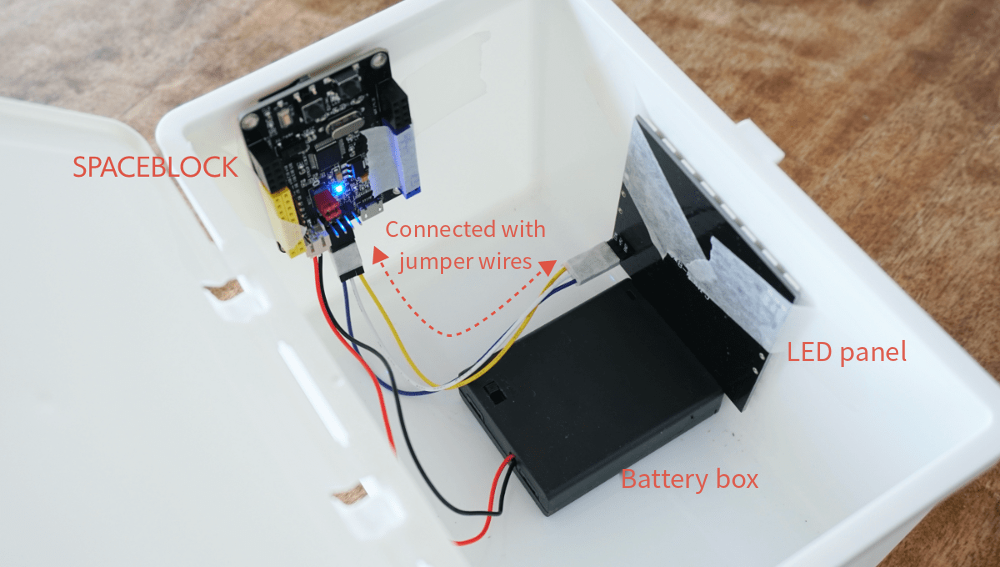
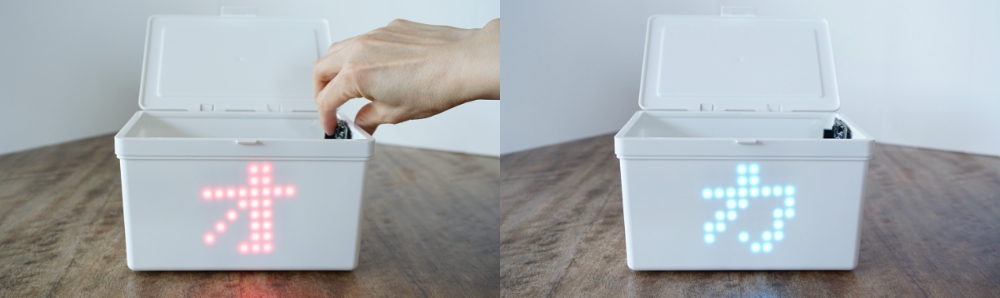
Try combining it with your own crafts and come up with your own design for the device!
Also, remember that computers have input devices and output devices. In the program you made this time, the button is the input device and the LED panel is the output device. If you use something else as the input device instead of pressing a button, or add more output devices besides the LED panel, you might make an even more useful and fun "welcome home" sign. Try thinking up some ideas!!
